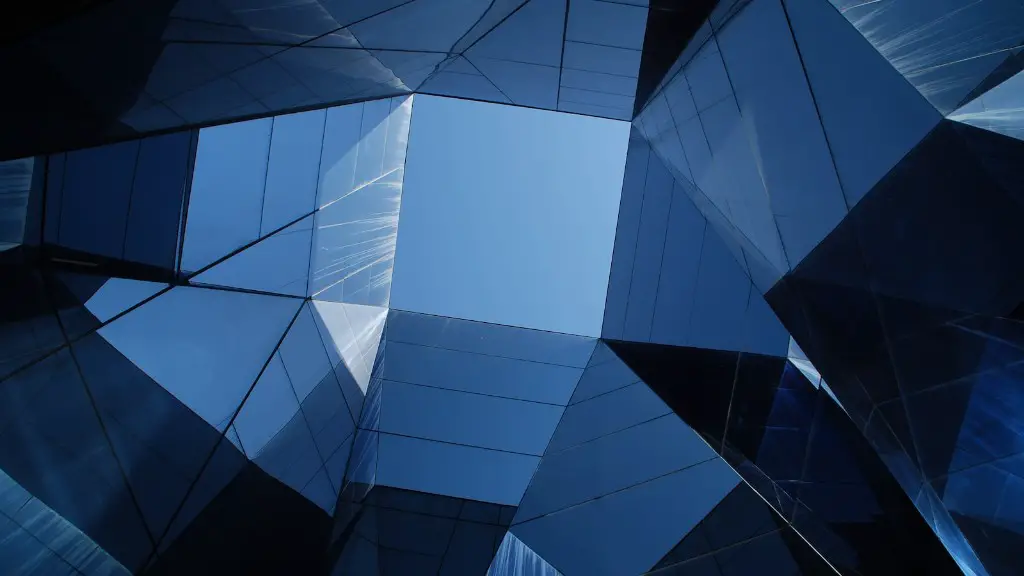
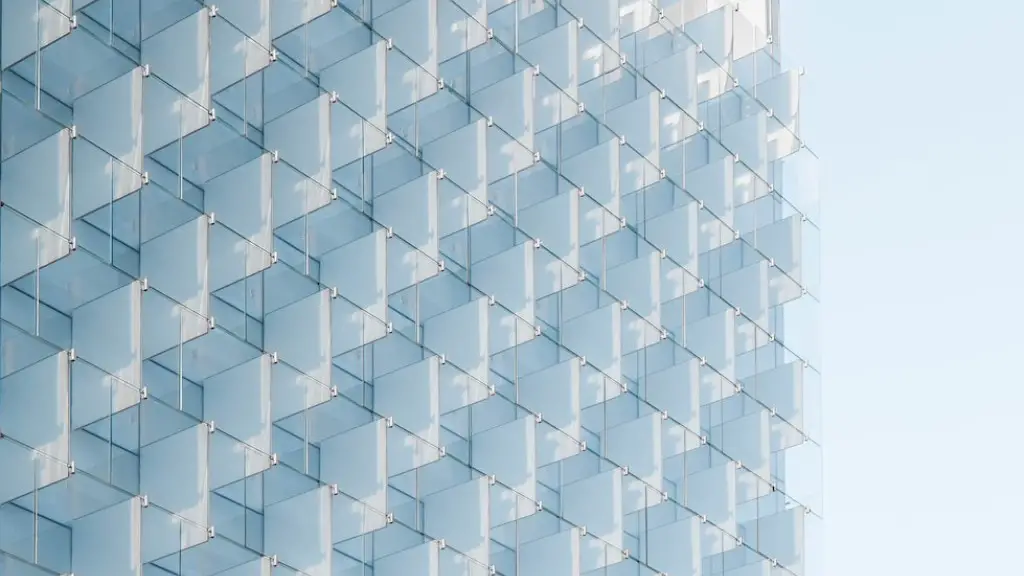
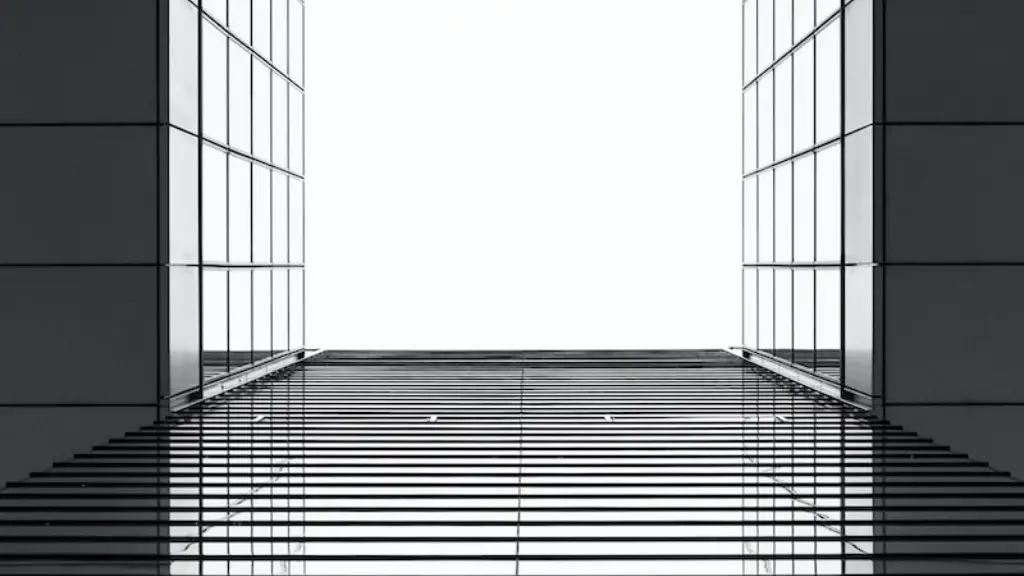
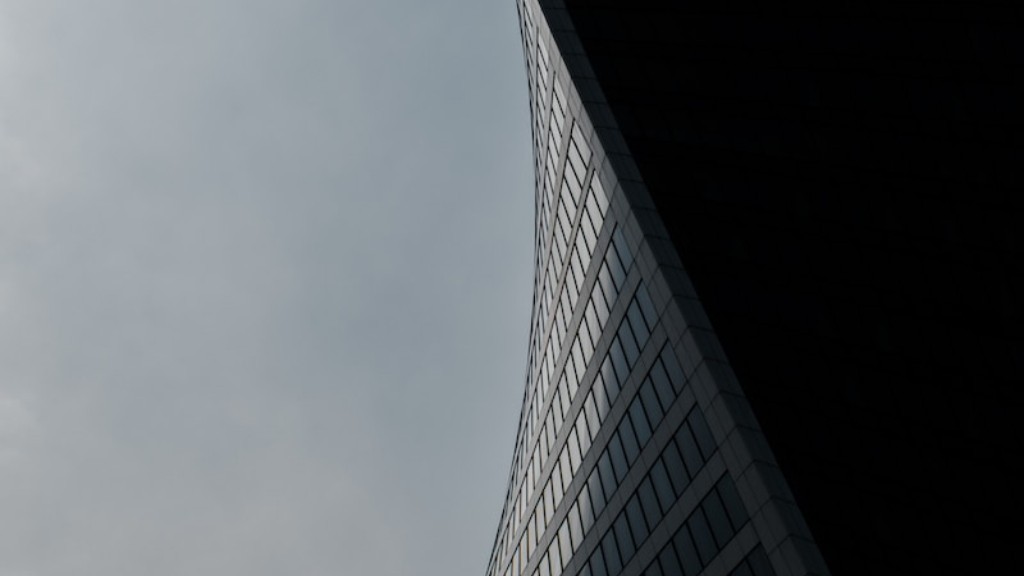
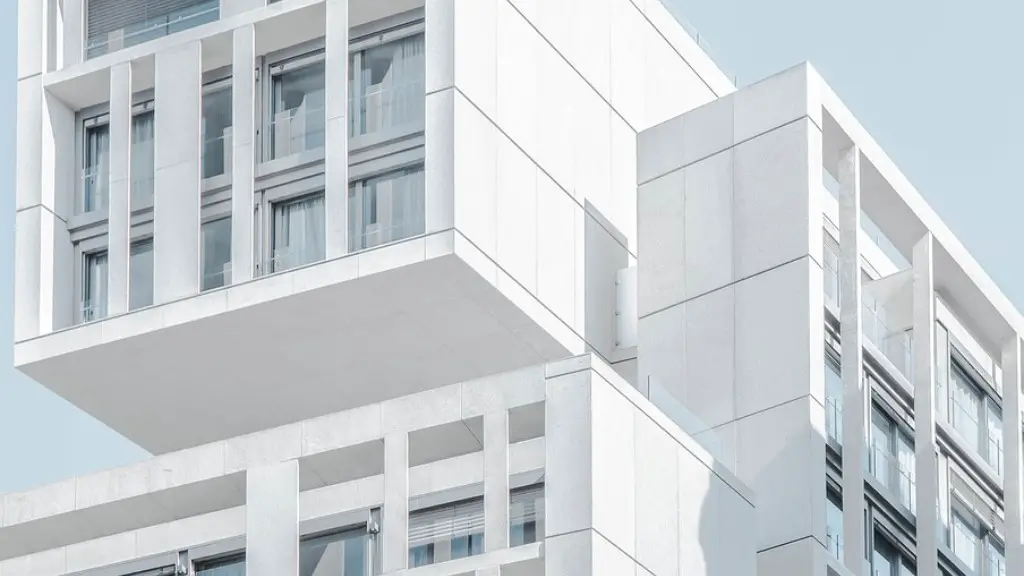
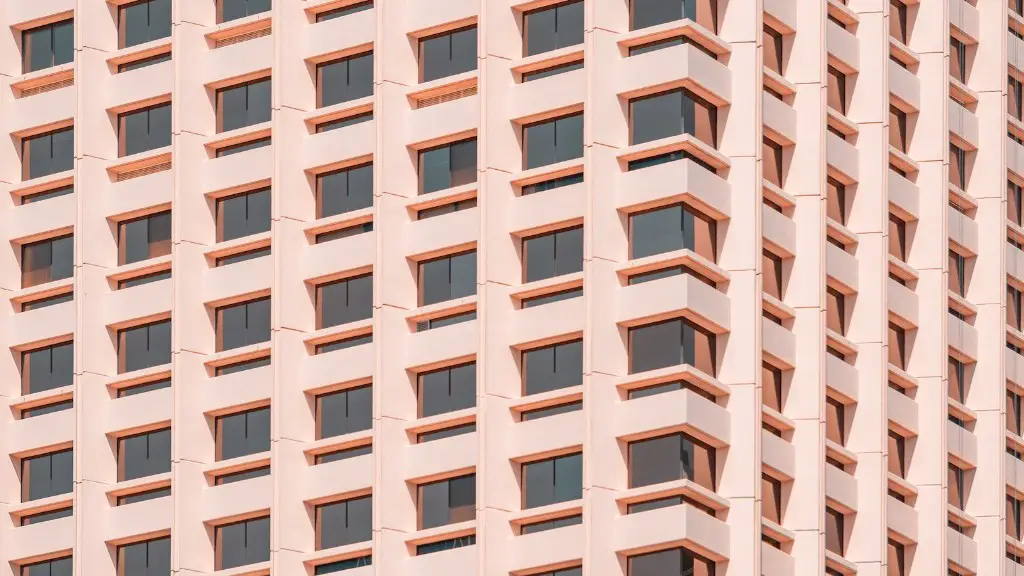
In order to take good architecture photos, there are a few things you need to keep in mind. First, pay attention to the composition of the shot. The rule of thirds is a good guideline to follow, and framing the subject in an interesting way will make for a more dynamic photo. Second, make sure the lighting is good. Photos taken in low light or with harsh shadows can be less than flattering. If possible, try to photograph the subject in the early morning or late afternoon when the light is softer. And lastly, don’t be afraid to get up close and personal – sometimes the best shots are taken from an unexpected angle.
Use a tripod if possible, as it will help keep your camera steady. If you don’t have a tripod, try to lean against something solid to help keep your hands steady.
Use manual mode on your camera so that you have more control over the exposure.
If using a DSLR camera, shoot in RAW format so that you have more editing options later.
Try to get an interesting angle, and don’t be afraid to experiment.
Use leading lines to draw the eye into the photo.
Choose a simple background so that the focus is on the architectural details.
Take plenty of photos, and then choose the best ones to edit later.
How do I take good architecture photos with my iPhone?
1. Find interesting architecture: The first thing you need to do is find something interesting to shoot!
2. Shoot from different perspectives: Shoot from different angles and heights to get different perspectives.
3. Use leading lines: Look for leading lines in the architecture to create interesting compositions.
4. Look for symmetry: Look for symmetry in the architecture to create pleasing compositions.
5. Fix perspective problems: Use the perspective tool in the iPhone camera app to fix any perspective problems.
6. Capture small details: Look for small details in the architecture that can make for interesting photos.
7. Create abstracts: Create abstract compositions by shooting close-ups of interesting details.
A low ISO will help to keep your image clear and minimize noise. Try to keep your ISO around 100. A narrow aperture will help to keep a deep depth of field. Aim for an aperture between f/8 and f/14.
What angle is architectural photography
When it comes to architectural photography, a wide angle, fish eye or ultra-wide angle lens is the best option. These types of lenses allow you to get a dramatic composition, and provides you with the ability to fit the entire frame of the building into one shot.
The One Photo Challenge is all about capturing a single photograph that tells a powerful story about architecture. Telling a compelling story does not always equate to documenting the most “iconic” or flashy buildings. Sometimes, the most regular buildings can do a better job of conveying a narrative.
What app do most architects use?
Construction Master Pro is a great app for construction professionals. It includes many features such as a construction calculator, construction reference library, and construction project management tools.
Adobe Creative Cloud is a great app for creative professionals. It includes many features such as access to Adobe Creative Suite, Adobe Photoshop, and Adobe Illustrator.
ARki is a great AR app that allows you to view 3D models in augmented reality.
Matterport is a great 3d scanning app that allows you to create 3D models of real-world objects and spaces.
Sunseeker is a great app for solar energy professionals. It includes many features such as a solar calculator, solar reference library, and solar project management tools.
ArchiMaps is a great app for architects. It includes many features such as a library of architectural symbols, an architectural project management tool, and a 3D model viewer.
Behance is a great app for creative professionals. It includes many features such as a portfolio builder, a job board, and a social network for creatives.
Player FM is a great app for podcast lovers. It includes many features such as the ability to subscribe to podcasts, create playlists, and listen to podcasts offline.
There’s no denying that smartphone cameras have come a long way in recent years. Nowadays, it’s not uncommon for someone to take a photo with their smartphone that’s just as good as one taken with a DSLR.
If you’re an architect or someone who loves architecture, then you know that a good photo of a building can be hard to come by. Here are 10 tips to help you take better architecture photos using just your smartphone.
1. Select the Right Orientation
When taking a photo of a building, it’s important to select the right orientation. You want to make sure that the building is framed correctly in the photo and that all the sides are visible.
2. Try Different Perspectives
Don’t be afraid to experiment with different perspectives. Sometimes the best photos are taken from an angle that you wouldn’t expect.
3. Try Shooting at Different Times of the Day
The lighting can make a big difference in how a building looks in a photo. Try shooting at different times of the day to see how the light changes the look of the building.
4. Step Inside the Building
If you’re able to step inside the building, you’ll be able to get a different perspective of the architecture
What is the 3/4 rule in photography?
The rule of thirds is a great way to achieve more balance in your images. It’s also a great guideline to follow when you’re just getting started with photography.
The 24mm lens is great for photographing architecture because it doesn’t cause distortion. It’s also a safer option for beginners than a really wide-angle lens.
What are the 3 most important camera settings
If you want to take great photos, you need to understand how the three settings work together. The shutter speed is how long the camera’s shutter is open, which affects how much light comes into the camera. The ISO is how sensitive the camera is to light, and the aperture is how much of the scene is in focus.
Panoramic photos are created by stitching together multiple photos to create a wide, uninterrupted image. This can be done manually or with the help of software. A panoramic photo created this way is typically distortion-free, although the field of view may not be as wide as the built-in panoramic mode.
To create a panoramic photo, first choose the photos you want to use and import them into your editing software. Next, align the photos so that they overlap slightly. Finally, use the software’s “stitch” function to create a single, seamless image.
If you’re using a DSLR camera with a tilt-shift lens, you can also create panoramic photos without the need for software. Simply take multiple photos while panning the camera from left to right, and then stitch the photos together in a photo editing program. This technique is especially useful for taking photos of architecture and landscapes.
What is the best focal length for architectural photography?
In architectural photography, a 16-35mm focal length is ideal for interior shots. But for more detailed or intricate shots, anywhere from 35mm to 200mm will do the trick. The other most important aspect of these lenses is the aperture.
There are a number of design elements that you can use to create great iPhone photos. Here are 10 of the most important ones:
1. Shapes: Geometric shapes are very pleasing to the eye, and they help you to create bold and striking compositions.
2. Lines: Lines can be used to add interest and drama to a photo.
3. Curves & Spirals: Curves and spirals add a sense of movement and energy to a photo.
4. Angles: Angles can be used to create a sense of tension or drama in a photo.
5. Symmetry: Symmetry is pleasing to the eye and can help to create a sense of balance in a photo.
6. Color: Color can be used to add interest and drama to a photo.
7. Contrast: Contrast can help to make a photo more interesting and eye-catching.
8. Pattern: Pattern can be used to add interest and texture to a photo.
9. Depth of Field: Depth of field can be used to isolat
What are the 3 C’s in photography
My definition of photographic vision is “a vivid and imaginative conception.” There are five essential elements of photographic vision, all beginning with the letter C. Clarity, Creativity, and Conception are three of those essential elements. To have photographic vision, one must be able to see clearly, be creative, and have a vivid imagination.
1. Shooting in JPEG: Many beginners think that shooting in JPEG will help them to save space on their memory card. However, shooting in JPEG format can actually lower the quality of your images. If you want to maintain the quality of your photos, shoot in RAW format.
2. Poor Image Composition: Another common mistake that beginners make is poor image composition. This can result in photos that are cluttered and unappealing. To avoid this, take the time to compose your shots carefully.
3. Shooting in Auto Mode: Many beginners think that they need to shoot in auto mode to get the best results. However, this is not the case. Auto mode is great for getting started, but you will get better results if you learn to shoot in manual mode.
4. Not Giving Importance to Background: Another common mistake is not giving importance to the background. This can result in photos that have a busy or cluttered background. To avoid this, make sure to pay attention to the background when you are composing your shot.
5. Wrong White Balance Settings: Beginners often make the mistake of using the wrong white balance settings. This can result in photos that have a yellow or orange tint. To avoid this,
What are the 7 steps in conceptual photography?
Artistic conceptual photography is all about transmitting a message or feeling through your images. The first step is to define your concept and figure out what it is you want to communicate. Then, search for inspiration to help you flesh out your ideas. Once you have a good understanding of what you want to do, start planning your production. Pay attention to every detail to ensure that your final product is a success.
An architect is a person who designs buildings and advises in their construction. Their job is to make sure that the buildings they design are functional, safe, and aesthetically pleasing.
Warp Up
Architecture photography can be extremely rewarding, but also quite challenging. Here are a few tips to help you take great architecture photos:
1. Find the right angle. When photographing architecture, it’s often best to avoid shooting directly at the front of a building. Instead, try to find an angle that will give the viewer a sense of the building’s scale and grandeur.
2. Use a tripod. architecture photography often requires long shutter speeds, so a tripod is a must.
3. Pay attention to the light. The light can make or break an architecture photo, so be sure to scout out your location ahead of time and plan your shoot around the lighting conditions.
4. Get close. Don’t be afraid to get close to your subject matter. This will help give the viewer a sense of the intricate details of the architecture.
5. Edit judiciously. When editing your architecture photos, less is often more. Try to avoid adding too many filters or effects that will take away from the natural beauty of the scene.
In order to take good architecture photos, it is important to have an eye for detail and be able to frame the shot well. It is also helpful to use a tripod to keep the camera steady. By following these tips, you can be sure to capture some amazing photos of architecture.
